Picture this: you slide into a warm, bubbling oasis right in your Flagstaff home, and nobody can tell you it wasn’t a pro who installed it. That feeling of pure comfort is only a few smart moves away.
Most homeowners think a walk‑in tub is a luxury reserved for the ultra‑rich, but the truth is a solid checklist can turn the project into a weekend win. From plumbing quirks up in the pines to the right floor‑support strategy, every detail matters.
Ready to see the exact steps that keep the job on track and your budget happy? Keep reading and you’ll have the secret playbook in hand.
Assessing Space, Load Capacity, and Structural Modifications
Measure the Footprint
First thing’s first: grab a tape measure and map out the exact dimensions where the tub will sit. You need clearances for the door swing, the tub’s entry step, and at least a foot of wiggle room for cleaning tools.
Sketch a quick floor plan and mark:
- Overall tub length and width
- Distance to walls, cabinets, and fixtures
- Headroom for the built‑in seat and any overhead jets
Check the Weight Limit
The tub itself can weigh 600‑800 lb, and when you add water, a person, and accessories you’re looking at 2,000 lb or more. Your floor must be able to handle that load without a squeak.
Ask yourself:
- What is the joist span in the bathroom?
- Are the joists #2 pine, engineered, or something else?
- Do you have a load‑bearing wall nearby that can share the weight?
Plan for Reinforcement
If the numbers don’t add up, you’ll need to beef up the structure before the tub even sees a drop of water. That usually means adding sister joists, steel plates, or a concrete pad.
Don’t skip the permit check—Flagstaff’s building department will want to see your calculations and the reinforcement plan before they sign off.
Selecting the Ideal Walk‑In Tub Model for Flagstaff’s Climate and Lifestyle
Climate‑Smart Features
Flagstaff’s high‑altitude winters demand a tub that holds heat like a champ. Look for models with double‑wall insulation and a built‑in heater that can keep the water at a soothing 100°F even when the snow is falling outside.
Don’t forget the water‑conserving side of things. A low‑flow pump and a recirculation system will save gallons while still delivering that spa‑like jet action you crave.
- Thermal‑retention liner – keeps heat in.
- Energy‑Star rated pump – cuts electricity use.
- Anti‑freeze valve – protects plumbing in sub‑zero temps.
Lifestyle Match
Whether you’re a retiree looking for a gentle soak or a family that loves a splash‑party, the tub’s features should line up with daily habits. Jets that target the lower back are a godsend for arthritis, while a wider entry makes it easy for kids and grandparents alike.
Think about the extra goodies that turn a tub into a retreat: built‑in LED lighting, Bluetooth speakers, and a handheld control panel that fits on the side of the tub.
- Adjustable jet patterns – customize the massage.
- Side‑mounted control – no reaching over the rim.
- Slip‑resistant floor coating – safety first.
Model Must‑Haves
Size matters, but so does durability. Choose a tub made from acrylic or reinforced fiberglass; they won’t crack under the stress of Flagstaff’s freeze‑thaw cycles.
- Capacity of 250‑300 lbs – supports most users.
- Quick‑drain system – speeds up turnover.
- Certified by the Arizona Building Code – peace of mind.
Navigating Plumbing, Electrical, and Local Building Code Requirements
Plumbing Must‑Knows
Flagstaff’s altitude means water pressure can be a sneaky beast. Check the pressure regulator before you even think about the tub’s jets. A simple gauge will tell you if you need a booster pump or a pressure‑reducing valve.
Don’t forget the drain. A 2‑inch PVC line is standard, but older homes often hide 1‑inch pipes behind the walls. Upgrade now, or you’ll be dealing with a slow‑draining nightmare later.
- Verify existing supply lines are at least ½‑inch copper or PEX.
- Install a dedicated shut‑off valve within arm’s reach of the tub.
- Plan for a backflow preventer to protect the municipal water supply.
Electrical Safety First
Walk‑in tubs come with built‑in heaters, pumps, and sometimes LED lighting. All of that electricity needs a GFCI‑protected circuit on a dedicated breaker. One slip and you’re calling the electrician, not the spa.
Flagstaff’s building code demands a minimum 20‑amp circuit for most tubs, but high‑end models can gulp 30 amps. Know your tub’s draw before you order the breaker.
- Run #12 AWG wire in a conduit that’s rated for wet locations.
- Label the circuit clearly in the breaker panel – “Walk‑In Tub” works.
- Schedule a final inspection to lock in the code compliance.
Code Checklist You Can Print
Arizona’s state code mirrors the International Residential Code, but Flagstaff adds a few local twists. The city requires a minimum 36‑inch clear floor space around the tub for wheelchair access. That’s non‑negotiable.
Also, the city inspector will look for a vented exhaust fan if you’re installing a steam feature. No fan, no approval.
- Maintain a 6‑inch clearance from any combustible material.
- Use slip‑resistant flooring that meets ASTM C1028.
- Secure a permit before any framing or rough‑in work begins.
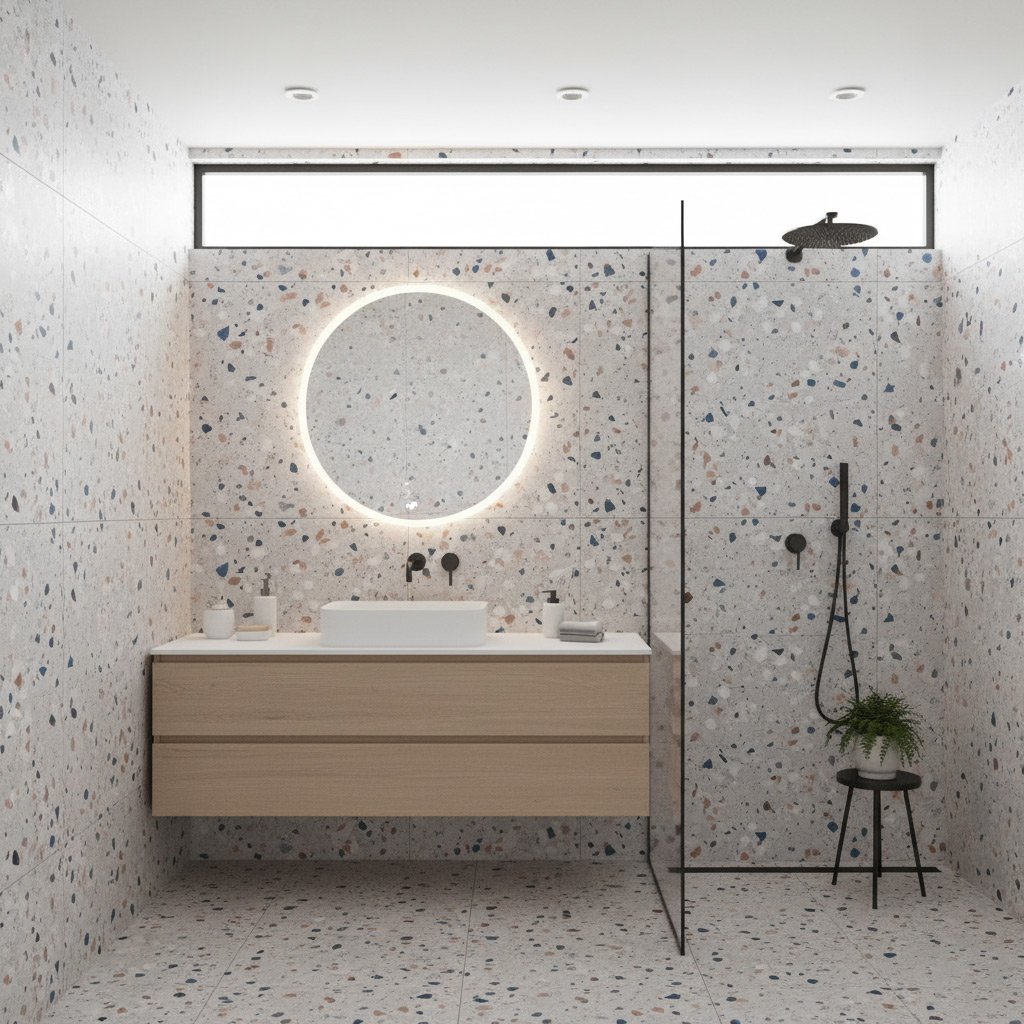
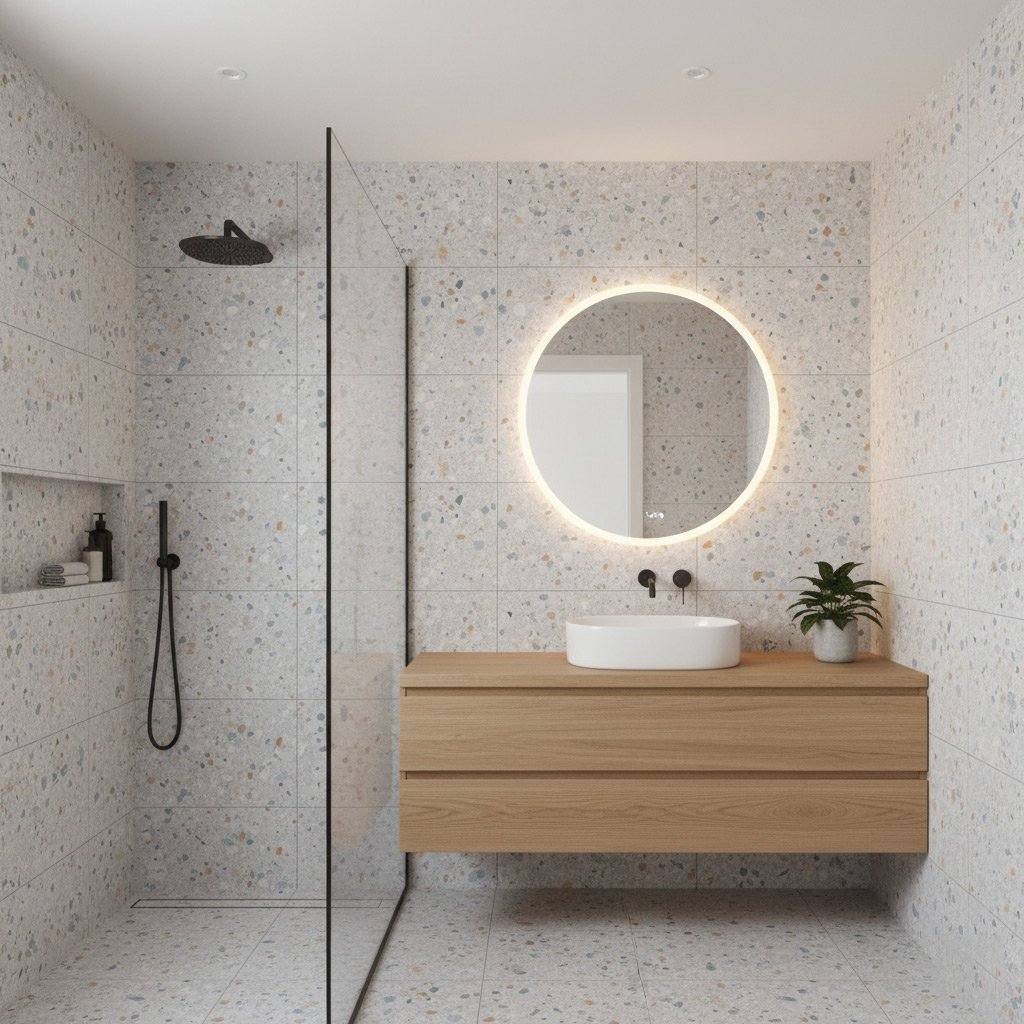
Designing Floor Support, Slip‑Resistant Surfaces, and Accessibility Features
Floor Support Basics
Before the tub even touches the floor, you need a solid foundation that can bear the weight of water, the tub, and a person—plus a safety margin.
Start by checking the joist spacing; 16‑inches on center is typical in Flagstaff homes, but older houses may need reinforcement.
- Install sister joists or add blocking under the tub footprint.
- Use pressure‑treated lumber rated for wet environments.
- Confirm the load capacity with a structural engineer if you’re unsure.
Choosing Slip‑Resistant Surfaces
Even a perfect tub can become a hazard if the floor turns into an ice rink after a hot shower.
Pick a surface that grips the foot while still looking good in a mountain‑style bathroom.
- Textured ceramic tile with a low‑profile grout line.
- Non‑porous vinyl with a matte finish—easy to clean, easy to walk on.
- Rubberized floor mats that lock into the subfloor for extra security.
Accessibility Must‑Haves
Walk‑in tubs are about comfort, not just luxury, so make sure the design works for everyone.
Think clearance, grip, and ease of entry from day one.
- Door width of at least 36 inches; wider if you have a wheelchair.
- Install grab bars at the entry and inside the tub, spaced 33‑36 inches apart.
- Low‑profile, lever‑type faucet handles for easy operation with limited hand strength.
Step‑by‑Step Installation Process: Framing, Rough‑In, and Finishing Details
Framing the Tub Enclosure
First, mark the tub’s footprint on the subfloor and cut the joists to fit. Secure the new framing with 2‑by‑4 studs, making sure it’s level and can bear the tub’s weight.
- Use pressure‑treated lumber for moisture resistance.
- Install blocking every 24 inches for added rigidity.
- Check for square with a carpenter’s square before fastening.
Rough‑In Plumbing & Electrical
Run the supply lines and drain pipe before the walls go up. Don’t forget the air‑gap valve—it’s required by Flagstaff code and prevents backflow.
- Lay PEX or copper for hot and cold water, insulated for the mountain chill.
- Fit the bathtub’s built‑in pump and heater, following the manufacturer’s torque specs.
- Run a dedicated GFCI circuit for the tub’s lighting and any jets.
Finishing Touches & Final Inspection
Seal the perimeter with a high‑quality silicone, then install the slip‑resistant floor tile or vinyl. Give the inspector a clean, dry space and all paperwork ready.
- Apply a waterproof membrane behind the tile.
- Attach grab bars at the recommended height.
- Test the jets, heater, and lighting before closing up the walls.
Case Study: Revamping a Historic Flagstaff Home with a Custom Walk‑In Tub
Background
When the Miller family bought their 1908 Craftsman bungalow, the original claw‑foot tub was more “museum piece” than relaxation zone. They wanted a modern walk‑in tub that honored the home’s heritage while delivering today’s comfort.
Our team started with a full‑scale floor plan to see how a larger tub would sit under the low‑ceilinged bathroom. The goal: keep the historic charm, avoid cutting corners on structural integrity.
Challenges & Solutions
Old joists, uneven floor, and a vintage cast‑iron pipe network made the job feel like a puzzle. We tackled each piece with a clear, no‑fluff approach.
- Structural upgrade: Reinforced the joists with engineered I‑beams, then added a steel support grid to bear the tub’s weight.
- Plumbing retrofit: Swapped the corroded cast‑iron with PEX tubing, keeping the original pipe routes to satisfy the city’s historic district code.
- Electrical safety: Installed a GFCI‑protected circuit and a low‑voltage LED strip that highlights the tile without heating the room.
We also chose a tub with a low‑profile sidewall to fit under the original window trim, preserving the view of the pine‑lined street.
Outcome
The finished bathroom feels like a seamless blend of 1900s elegance and 2020s luxury. The Miller’s now enjoy a spa‑like soak that respects the home’s story and meets modern accessibility standards.
Best part? The project stayed under budget and was completed in just three weeks—proof that a historic home can get a fresh, functional upgrade without a full gut‑rehab.
Final Words
Before you roll up your sleeves, remember that a walk‑in tub isn’t just a fixture—it’s a long‑term investment in comfort and safety. Choosing the right contractor who knows Flagstaff’s altitude quirks can save you headaches later.
Quick sanity check
- Space clearance: at least 36″ around the tub for easy access.
- Load‑bearing floor: confirm joists can handle the weight plus water.
- Permits: double‑check the city’s latest code updates.
When the job’s done, treat the tub like a prized piece of furniture. Keep the seals clean, schedule an annual inspection, and you’ll enjoy that soothing soak for years. Need more guidance? Dive deeper into our Walk-In Tub resources for tips, FAQs, and trusted local installers.
People Also Ask
What space requirements should I consider before installing a walk‑in tub in Flagstaff?
A minimum of 5 ft by 7 ft floor area is recommended to accommodate the tub, door swing, and access pathways. Verify ceiling height (at least 7 ft) and ensure there’s clearance for any existing fixtures or cabinetry.How does Flagstaff’s high altitude affect the choice of walk‑in tub materials?
High altitude can cause faster wear on metal components, so opt for corrosion‑resistant stainless steel or acrylic tubs with UV‑stable finishes. Look for models with insulated walls to maintain water temperature despite cooler, drier air.Do I need a permit for a walk‑in tub remodel in Flagcity, Arizona?
Yes, most municipalities, including Flagstaff, require a building permit for structural changes, plumbing, and electrical work. Check with the Flagstaff Planning & Development Services to confirm specific documentation and inspection timelines.What are the key accessibility features for a walk‑in tub in a historic Flagstaff home?
Prioritize low‑threshold entry doors, grab bars placed at the 33‑inch and 36‑inch heights, and slip‑resistant flooring that matches the home’s historic aesthetic. Incorporate handheld shower controls and a built‑in seat for added safety.How long does a typical walk‑in tub installation take from framing to finishing?
A full installation usually spans 2‑3 weeks: 2‑4 days for framing and structural modifications, 3‑5 days for rough‑in plumbing and electrical, and the remaining time for tile work, waterproofing, and final inspections. Delays can occur if additional structural reinforcements are needed.Flagstaff Bathroom Remodel brings over a decade of specialized bathroom renovation expertise to homeowners throughout Flagstaff, Arizona. Their team combines local knowledge with meticulous craftsmanship to deliver functional, stylish spaces that reflect the region’s unique character. Committed to personalized service, they guide clients from design through installation, ensuring each project meets the community’s standards for quality and durability.
Need Bathroom Remodel?
We provide fast, reliable HVAC installation and repair for residential and commercial customers in Flagstaff (86001, 86004, 86005) and neighboring ZIP codes. Our technicians work efficiently to keep your system running smoothly.
Get Bathroom Quote